How to renovate on a tight budget is very challenging, especially when it comes to lighting. After searching for a while for a new affordable light fixture for our kitchen, we decided to DIY this large industrial farmhouse light fixture.
I have wanted to replace the 1980's fluorescent light fixture in our kitchen from day one. It has served its purpose and lit up the kitchen, but boy is this thing ugly up there!
Recently a relative gave us three leftover large schoolhouse style lights from one of his projects and we thought they would be perfect for the kitchen. But we were a little stumped about how to do it with an angled ceiling that is 18 feet tall at the peak.
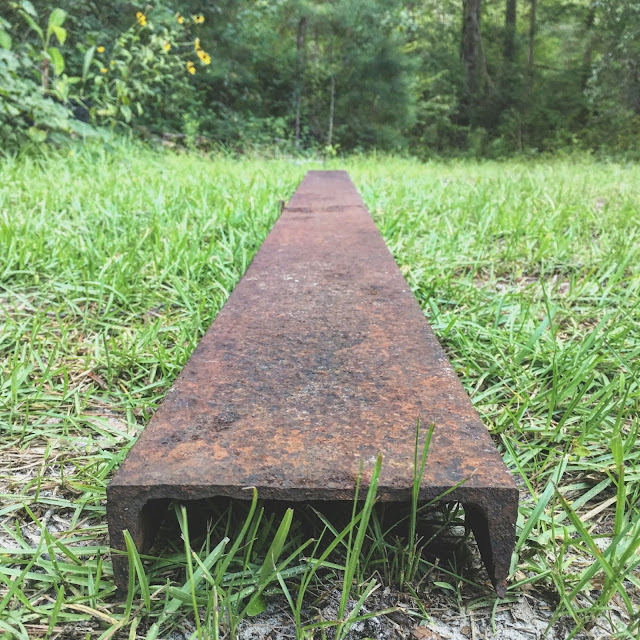
Now usually, I am the one in our marriage that comes up with the design ideas which my husband usually contributes to and streamlines, and then we make it happen together. But this time my husband said, "I have an idea. I'll be right back." He went into the woods on the edge of our yard and came back dragging this eleven foot long rusty steel beam.
He said he wanted to mount the three light fixtures to this beam and make one giant linear chandelier for the kitchen. Oh yeah, I'm all over this!!
The "C Channnel" beam would provide the perfect channel for wiring the lights.
It is one of the many treasures that were left behind by our home's original owners who lovingly built this house. It's been rusting away in the woods for who knows how long and we needed to stop the rusting, but I really wanted to keep the rusty patina. So before we even started this project we pressure washed the loose chunks off.
And then we treated the beam with our favorite rust inhibitor, Ospho
(please excuse the insanely disorganized garage backdrop.)
We sprayed all of the surfaces of the beam with Ospho, wiped the excess off with a rag, and let it set overnight.
Next came the fun part, laying out the fixtures on the beam. We centered the middle one, of course, and then placed the ones on the ends in a spot that looked right.
You may also like to read about:
Which gave us the location for the center holes for the wires.
And we drilled a 5/16" hole. To explain the sawdust while drilling through a steel beam, there's a wooden block under there to support the beam.
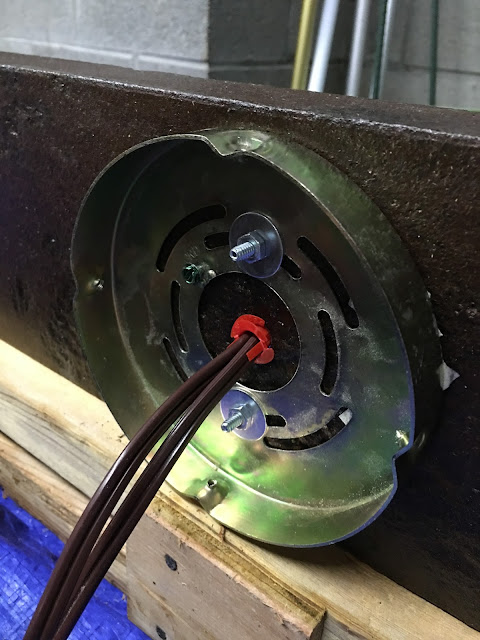
After that was dry, we attached the fixture mounting plates, and grounded the beam to the fixtures.
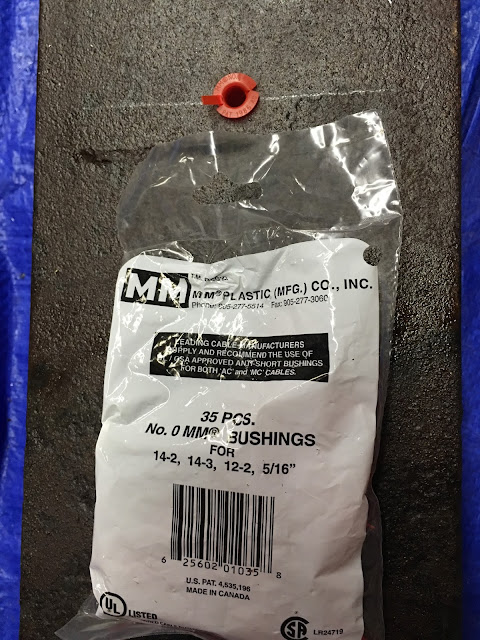
We used a plastic bushing in each of the three holes to protect the wires.
Then we ran the wires for the lights.
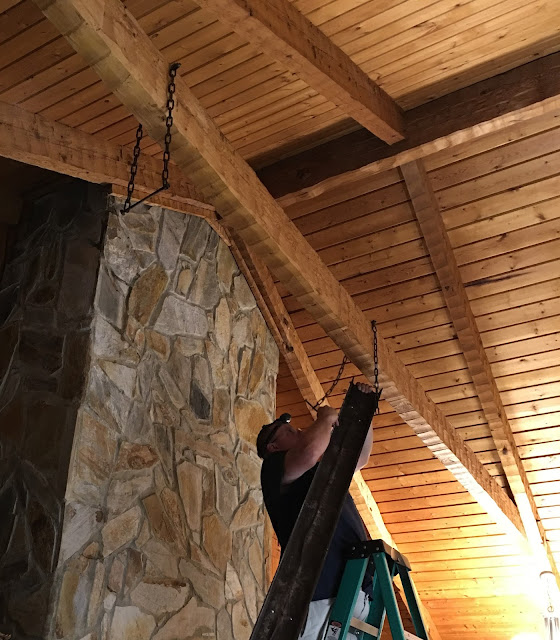
To suspend the beam of the linear chandelier, we decided to use a trapeze made from chains and bolts. We put the top bolt through a stainless steel tube, just to make it sit evenly on top of the wooden beam. We spray painted these a dark brown to match the beam.
Now we were ready to hang this big thing! We started by hanging the trapeze supports from the wooden beam of the house.
I didn't get good pictures of this part because it took my husband, my father-in-law and me to lift it into place.
After the beam was up, my husband wired up the lights and finally attached them to the bases on the steel beam.
And now finally...the finished linear chandelier!
So that's our new DIY industrial farmhouse chandelier for our kitchen! Thanks so much for stopping by to check it out with me! It's much better than a 1980's fluorescent light, right?


